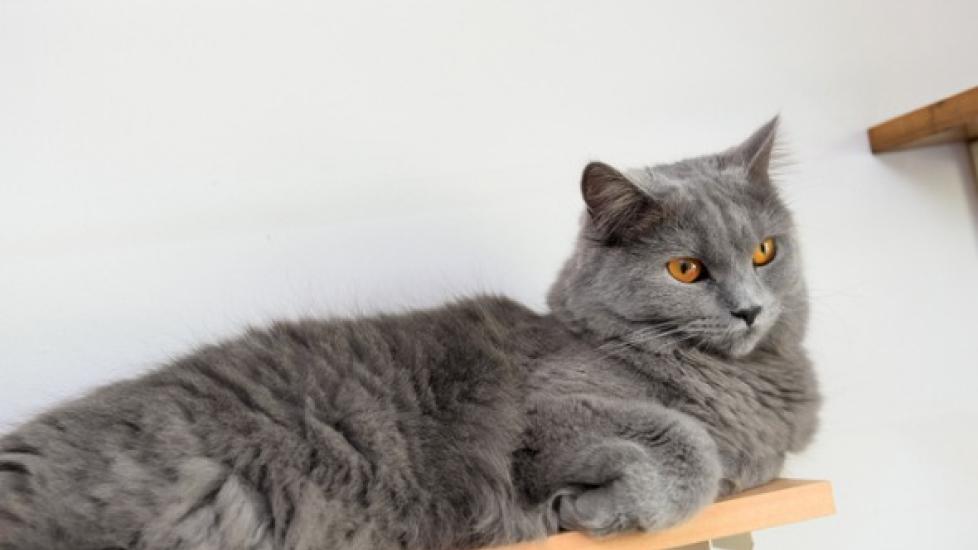
How to Build Cat Shelves
By Cheryl Lock
There is nothing in the world a cat loves more than exploring, climbing and checking things out. That’s why cat shelves make the ultimate exploratory toy to keep your furry feline friend busy for hours.
Of course you’ll need to make sure that your DIY cat shelves are built to be sturdy and safe. Follow this cat wall shelves DIY to learn how to build cat shelves that are safe and fun.
Here are some supplies you’ll need for your cat wall shelves DIY project:
-
Wood. You can use scrap wood from old furniture if you have that, or check with furniture stores.
-
A couple of brackets of whatever size matches your wood.
-
A staple gun and staples.
-
Manual or power tools. Power tools will obviously get the job done more quickly.
-
Safety goggles.
-
Screwdriver and screws. You’ll need one set that will fit in the brackets and go through the wood, but that aren't longer than the wood so they don’t poke out. You'll need a longer set to attach the cat shelves to the wall.
-
A level for mounting the shelves to the wall.
-
Material to cover the shelf. You can get carpet from a hardware store, or shelf liner works as well. Using different textures for multiple shelves is fun for cats, too.
Vet Recommended Health Support
How to Build Cat Shelves
Step 1: Decide how big you want the cat shelves to be. Mark off where to cut the wood to the size you want with a pencil, and cut the wood either manually or with your power tool.
Step 2: Attach the brackets to the underside of the board. You’ll want to make sure the screws don’t poke through the top. Start by putting the shorter end of the bracket on the wood, leaving the longer side to go against the wall so there’s more weight against the wall. Then either screw or drill the screws into place, again making sure to not poke the screws through the top of the wood. When placing the brackets on the wood, first check to make sure that where you’re placing the brackets keeps the longer bracket resting comfortably flush with the wall.
Step 3: Take your shelf covering and size it to fit the shelf. Staple it on the sides if possible, but if you have to use strips and staple the top, make sure the top staples are all the way into the wood so nothing is sticking out. If you have some staples sticking up, use a hammer to drill the staples flush into the wood.
Step 4: Take your longer screws and anchors and mount your new cat shelf to the wall.
Step 5: Watch your cat entertain herself for hours!
Image via iStock.com/cunfek
